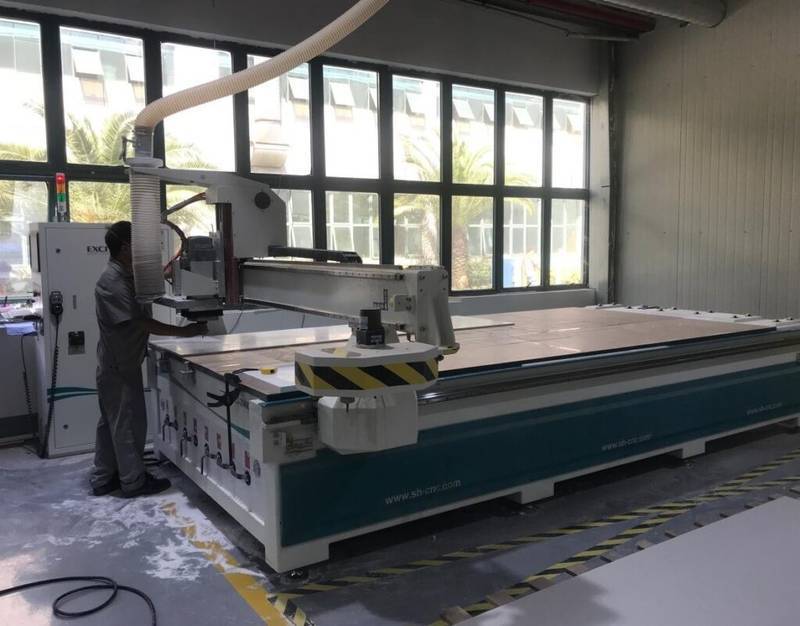
A drawing can look complete and still leave important questions unanswered: Which face will be visible? How accurately must a recess fit an insert? Does the quoted thickness apply before or after sanding? Agreeing on these details before CNC machining can prevent unsuitable samples, production delays and avoidable rework.
This guide is for product designers, furniture manufacturers and buyers ordering custom solid surface components. It focuses on the information needed for a practical quotation and an approved production sample.
1. Explain how the part will be used
Start with the component’s function, installation environment and the parts it must fit. A decorative cover, a fitted tray and a panel supporting an accessory have different priorities. Share the assembly drawing or photographs of mating parts, expected loads where relevant, indoor or outdoor exposure, cleaning conditions and any applicable project requirements.
Identify whether the component is supplied as a machined blank, a finished part or an assembly. CNC cutting is one stage: edge work, bonding, sanding, polishing and packaging may be separate items in a quote.
2. Supply a clear, dimensioned drawing
Provide a revision-controlled drawing with units and the overall length, width and finished thickness. Include front, rear and side views, sections through recesses, hole diameters and depths, centre positions, corner radii and edge profiles. Mark the visible face and any direction-sensitive pattern.
A CAD file such as DXF or STEP can help communicate geometry, depending on the feature. Also send a readable PDF drawing: the two should agree. If they differ, identify which document takes precedence before machining starts. A photo or sketch can begin a discussion, but it rarely replaces an approved dimensional drawing.
3. Separate critical dimensions from general tolerances
Not every dimension needs the same tolerance. Identify the dimensions that control fit, such as an insert pocket, mounting hole or mating edge, and specify their permitted range and how they will be measured. Agree general tolerances for non-critical features separately.
For example, a recess nominally 12 mm wide is not necessarily suitable for a 12 mm insert: the insert’s own variation, desired clearance, adhesive and assembly method all matter. Provide the actual mating part or its tolerance range where possible. The appropriate pocket size should be agreed after a fit trial, not assumed from nominal dimensions alone.
Extremely tight tolerances can increase cost or be impractical for a given shape, sheet condition and finishing process. Ask the fabricator to flag difficult requirements before approving the quote. See our sheet thickness and acceptance guide for a separate discussion of incoming sheet thickness.
4. Mark recesses, holes and remaining material
For every pocket, state its position, width, depth, bottom shape and whether depth is measured from the finished face or the back. Confirm the minimum remaining material under the pocket and around nearby edges or holes. The appropriate design depends on the material, loads, tooling and use; there is no single safe wall thickness for every part.
A rotating cutter normally leaves a radius at an internal corner. If a square-cornered insert must fit, discuss a suitable corner relief or an alternative design, then approve a prototype. Do not assume a CNC drawing’s sharp internal corner can be produced exactly as drawn.
5. Specify finish and visible quality
Mark the visible faces and edges, and define the intended finish with a physical reference when possible. Matte, satin and gloss can change the apparent colour and the visibility of scratches. State whether the underside will be sanded, whether engraving must remain legible after finishing, and how visible tool marks or minor surface features will be judged.
For engraved text or logos, provide the approved artwork, location, orientation and desired appearance. Fine details depend on tool geometry, material and finish; a trial is the best way to agree on the result. Avoid relying on a screen image as the final colour or finish approval.
6. Approve a functional sample
A useful prototype should represent the intended material, machining and finish. Test the fit with the real insert or hardware, inspect critical dimensions, confirm the appearance under expected lighting and check any assembly or end-use requirements. Record the drawing revision, material, dimensions and approved sample before production.
Photos and video are helpful for an initial review, but they cannot replace physical fit and finish checks. If a design changes after sample approval, ask whether material, tooling, price or lead time must be revised before authorising production.
7. Compare complete quotations
- Material grade, colour, thickness and approved reference sample.
- Drawing revision, quantities, part orientation and critical tolerances.
- Machining operations, edge profile, visible and non-visible surface finishes.
- Hardware, assembly or adhesive scope, if applicable.
- Prototype, inspection method, packaging, delivery terms and lead time.
- How non-conforming parts and design changes will be handled.
Where several small parts can be nested on one sheet, layout and quantity can affect material use and unit cost. Ask the supplier to explain its assumptions rather than comparing only the price per piece.
Start with a drawing, even if it is incomplete
At KSTONE we can review a component drawing, reference photograph or sample with your intended application. Share the dimensions, material preference, quantity, mating parts and critical requirements. We can then identify points that need clarification before agreeing on a sample and production specification.
Related reading: solid surface fabrication overview. For workshop practice, consult the chosen material and equipment suppliers’ instructions; HIMACS recommended tools discusses machining and dust extraction for its products.