Why Did a Solid Surface Countertop Seam Crack? A Practical Investigation Guide
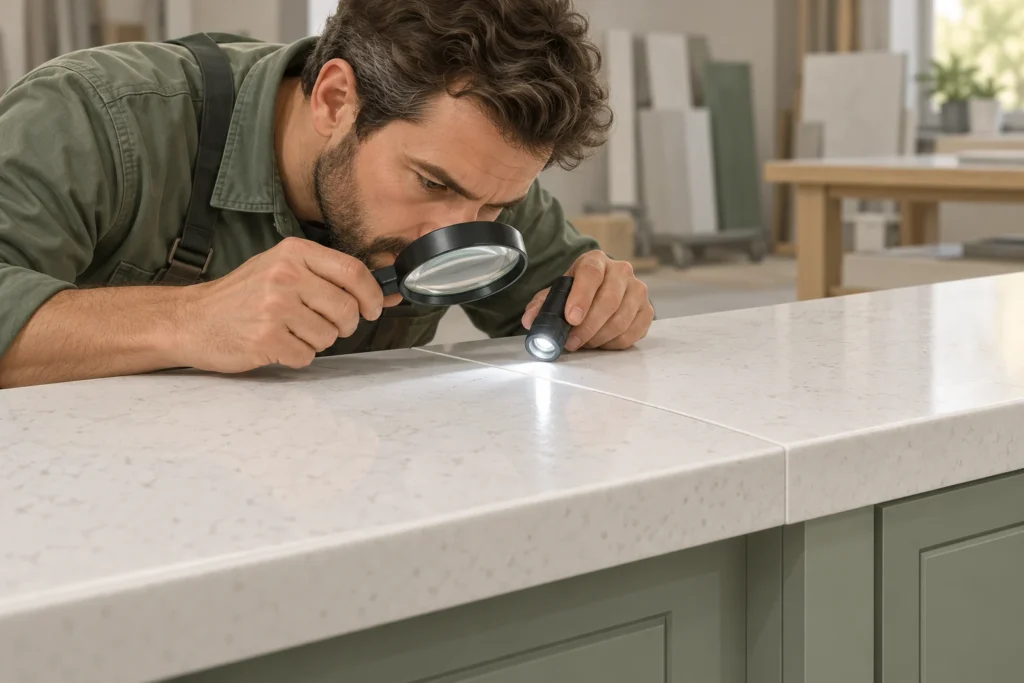
Featured image: AI-generated conceptual illustration of seam inspection, not a photograph of an actual project.
A crack appearing along a countertop joint can lead to a difficult conversation: was the material defective, was the joint poorly made, or did the installation move? The visible crack is a symptom. Without checking the surrounding conditions, it is rarely enough to identify a single cause.
This guide helps buyers, fabricators and installers collect useful evidence and agree on the next step. It addresses a cracked joint; a visible colour line without a crack may be an appearance issue and should be evaluated separately.
First: make the area safe and record what you see
Stop using the affected area if the top moves, a section is loose, or the crack is close to a heavy sink or hot appliance. Keep loads and heat away. Where electrical, gas or plumbing equipment is involved, have the relevant qualified professional assess it before access or removal.
Photograph the overall installation and close-ups with a scale. Record where the crack starts and ends, its direction, the date noticed, whether it changes with use, and whether there is a gap, height difference, movement, staining or surrounding damage. Do not assume a visible line is entirely in the adhesive: a crack can run in the sheet alongside a joint.
Five areas to investigate
1. Heat and the location of the joint
Is the crack near a hob, oven, hot-water appliance or a frequently used hot pan? Look for scorch marks, inadequate clearances or missing protection, and ask about operating conditions. Heat can be one contributing factor, but location alone is not proof. Review the appliance installation instructions and the surface manufacturer’s current cut-out, clearance and heat-protection requirements for this specific design.
2. Substructure and movement
Inspect accessible supports for uneven cabinet tops, unsupported areas, movement, distortion or changes after installation. Check whether the top has appropriate support around the seam and any nearby sink. A reinforcement strip beneath a joint is not a substitute for a sound supporting structure.
For example, the HIMACS structure and installation guidance distinguishes seam support from the wider substructure. Its details apply to HIMACS; the relevant manufacturer’s requirements and actual load conditions must govern your project.
3. Joint preparation and adhesive
Ask whether the joint edges were clean, accurately prepared and brought together without excessive force. Confirm the adhesive product, colour, batch, storage, mixing procedure, working conditions and curing instructions. A poorly mixed cartridge, contaminated surface or excessive clamping can affect a bond, but these are hypotheses until evidence is available.
4. Reinforcement and geometry
Check whether a continuous reinforcement strip is required for this configuration, whether it is present and properly bonded, and whether the joint was placed near a cut-out, inside corner or other stress concentration. Compare the as-built construction with the approved drawing and material-specific instructions. Requirements vary by brand, application and design; there is no reliable universal seam distance for every project.
5. Changes since installation
Ask whether the cabinet, appliance or plumbing has been changed, whether the top has been lifted, or whether the installation has experienced impact or unusual heat. Record dates and observations without assigning blame. More than one factor may have acted together.
A useful evidence pack for your supplier or fabricator
- Order reference, material grade, colour, sheet and adhesive batch details if available.
- Approved and as-built drawings showing seam, support, sink and appliance locations.
- Photographs before and after installation, plus a close-up with scale and a view of accessible underside support.
- Installation and first-use dates, when the issue was first noticed and whether it is progressing.
- Relevant appliance details, maintenance history and any known impact or modification.
If access beneath the top is blocked, record that limitation rather than dismantling equipment without the owner’s and qualified installer’s agreement.
Repair the cause as well as the crack
A trained solid surface fabricator should assess whether a local repair, reinforcement, support correction or partial replacement is appropriate. The repair method depends on the crack location, surrounding material, available access, colour and the manufacturer’s rules. HIMACS describes several product-specific repair methods and notes limitations near heat-generating appliances. This is not a universal repair specification.
Filling the visible line without addressing movement, heat exposure or missing support may leave the original cause in place. Agree the investigation, repair scope, responsibilities, access, appearance expectations and follow-up in writing. Ask for photographs of the completed underside work where it will be concealed.
How to reduce the risk on the next project
Before fabrication, approve seam positions, reinforcement, supports, cut-outs and appliance clearances together. Keep the material and adhesive batch records and identify the person responsible for final installation checks. A representative sample joint and an agreed inspection plan can uncover issues before a full project proceeds.
For a separate discussion of joint appearance, see how to make solid surface joints less noticeable. For finished components, use the pre-shipment inspection checklist.
Technical references: HIMACS structure and installation, HIMACS repairs and Corian fabrication bulletins. These are brand-specific sources; use the current instructions for your material and installation.